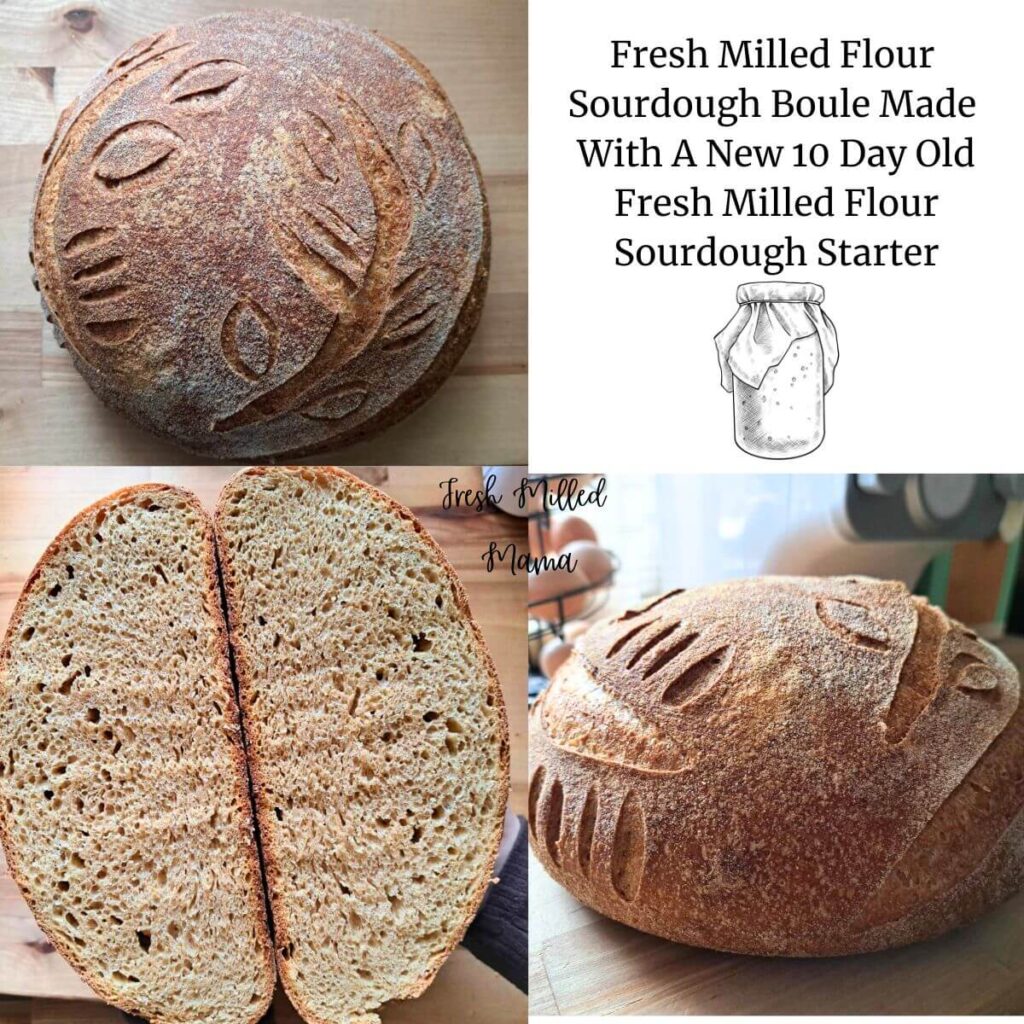
You’ve fallen down the rabbit hole of milling your own flour, and now you want to make your own fresh milled sourdough starter. This post will walk you through the daily steps to creating your very own fresh milled flour sourdough starter from scratch. With patience, a little flour, water, and time, you’ll have a starter to bake beautiful sourdough bread and more within 7-14 days!
I hear a lot of people share how they’re nervous to make their own starter or get started with sourdough. I thought making my own starter was the easy part and making things with it almost made my head spin. If I can give you any encouragement it would be to just dive in and start. You might mess up a little or even have to throw out and remake a starter, but you will learn so much along the way of just doing it and keeping notes as you go. Aside from the time and patience at least if you have a failure it’s only flour and water.
In most cases your sourdough starter should start doubling in about 7 days. If you are following the steps and it seems like it’s not working or it’s taking too long, but overall it is healthy, just keep feeding it and being patient!
What You’ll Need To Make A Fresh Milled Flour Sourdough Starter
Pint Mason Jar
Fresh Milled Flour (I prefer hard white)
Water, non-chlorinated (room temperature 70-75F)
Kitchen Scale
Spatula or Spurtle
Day 1
Set your empty jar on the kitchen scale and tare it so it shows 0 grams. Add 50 grams of fresh milled flour and 50 grams of room temperature water. Stir until thoroughly combined. Cover loosely with the jar lid and band, but DO NOT tighten the band. I personally just use the mason jar lid with the band loosely fastened just enough to not fall off. Let it sit for 24 hours. It will need to “breathe” and let out gasses. You can use a marker or rubber band to mark the top of your starter. This will come in handy as your starter gets active. *Your starter will not show signs of growing or being active days 1-3.

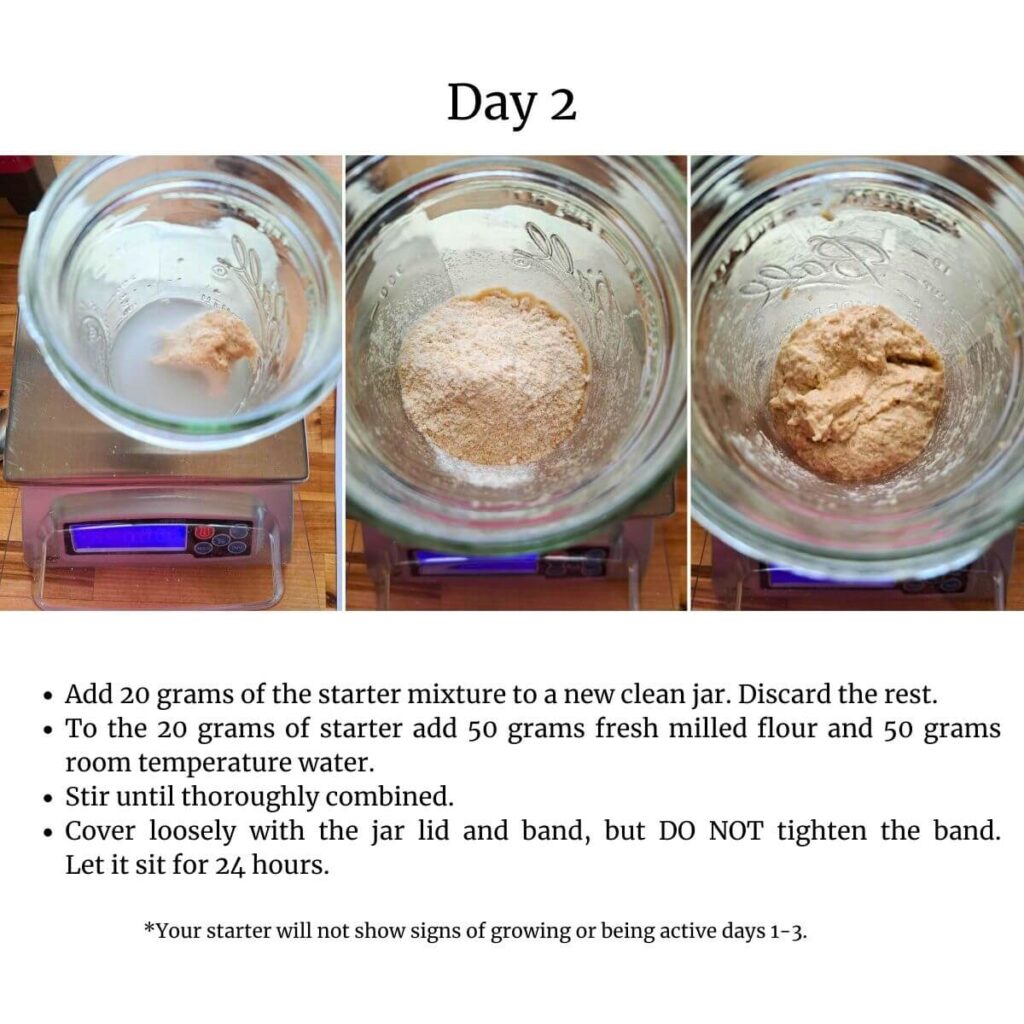
Day 2
Add 20 grams of the starter mixture to a new clean jar. Discard the rest. To the 20 grams of starter add 50 grams of fresh milled flour and 50 grams of room temperature water. Stir until thoroughly combined. and Cover loosely with the jar lid and band, but DO NOT tighten the band. Let sit for 24 hours.
Days 3-5
Repeat steps from day 2.
This is also a good time to jot down notes as you go. Assess the look and smell of your starter.
Days 6 and Onward
- You will now feed your starter 2 times a day! You will feed it 12 hours apart. Tare out a clean pint glass mason jar on your kitchen scale. Add 50 grams of the starter to the jar. Discard the leftover. To the 50 grams of starter add 50 grams of fresh milled hard white flour and 50 grams of room temperature water. (This is a 1:1:1 feeding Ratio) Stir until thoroughly combined. Cover loosely with the jar lid and band, but DO NOT tighten the band. Let it sit for 24 hours.and let sit in a warm spot until your next feeding.
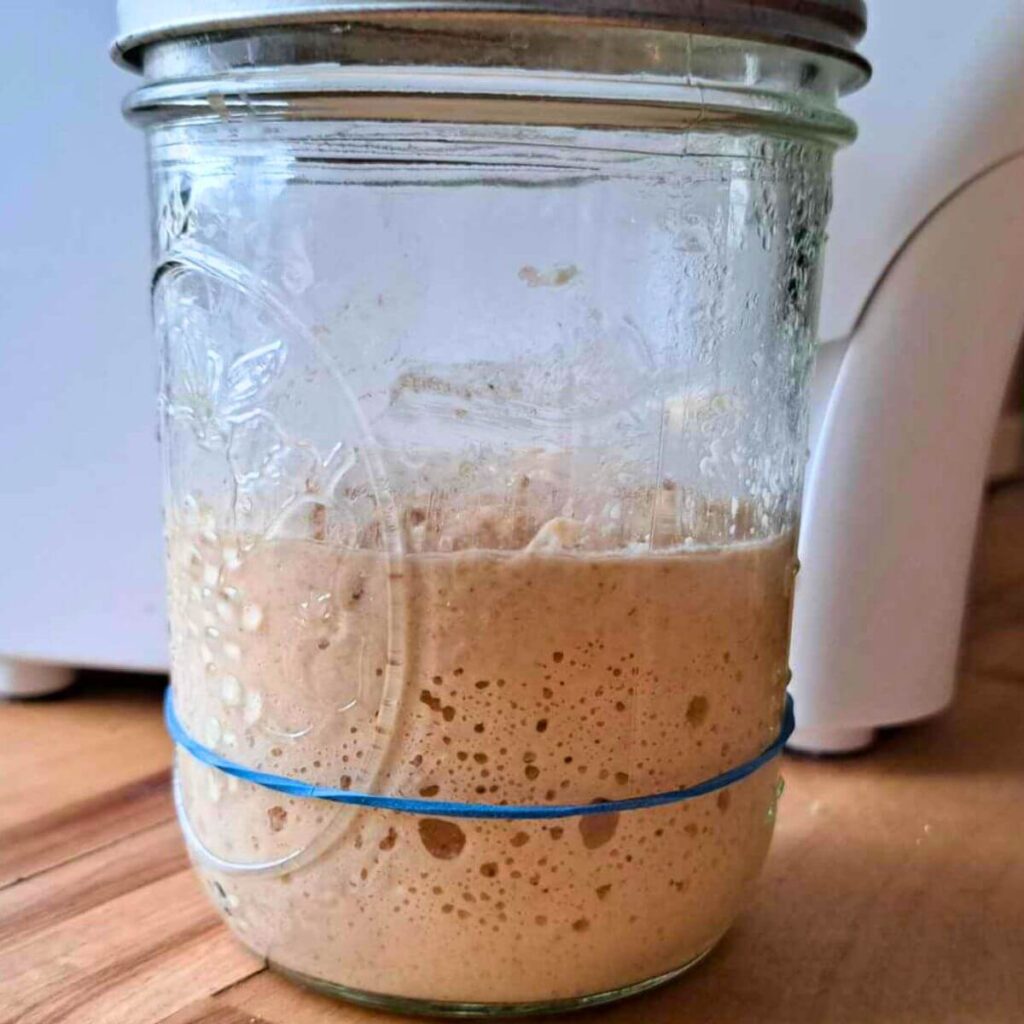
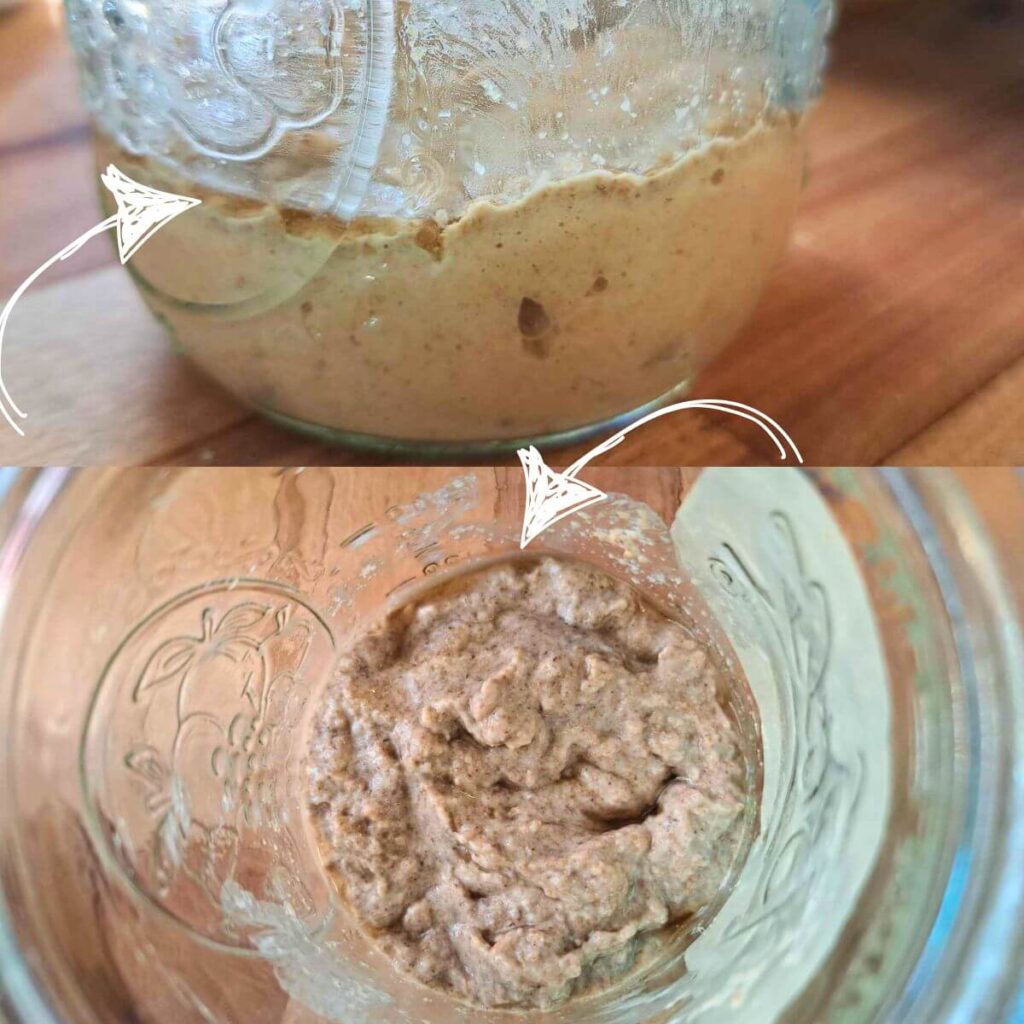
- By now you should start to see some activity such as bubbles and your starter rising and falling. A healthy sourdough starter should double in 4-6 hours. My starter actually doubled on day 6, but this can vary with the temperature in your home. Taking longer if it’s cooler or quicker if it’s warmer. Be patient if yours isn’t at the same pace.
- Once you are getting predictable results for a few days with your starter doubling within 4-6 hours it is ready to start baking sourdough bread and other goodies! Your starter is going to keep maturing and getting stronger as time goes, so stay consistent with feedings!

What Should My Sourdough Starter Look Like?
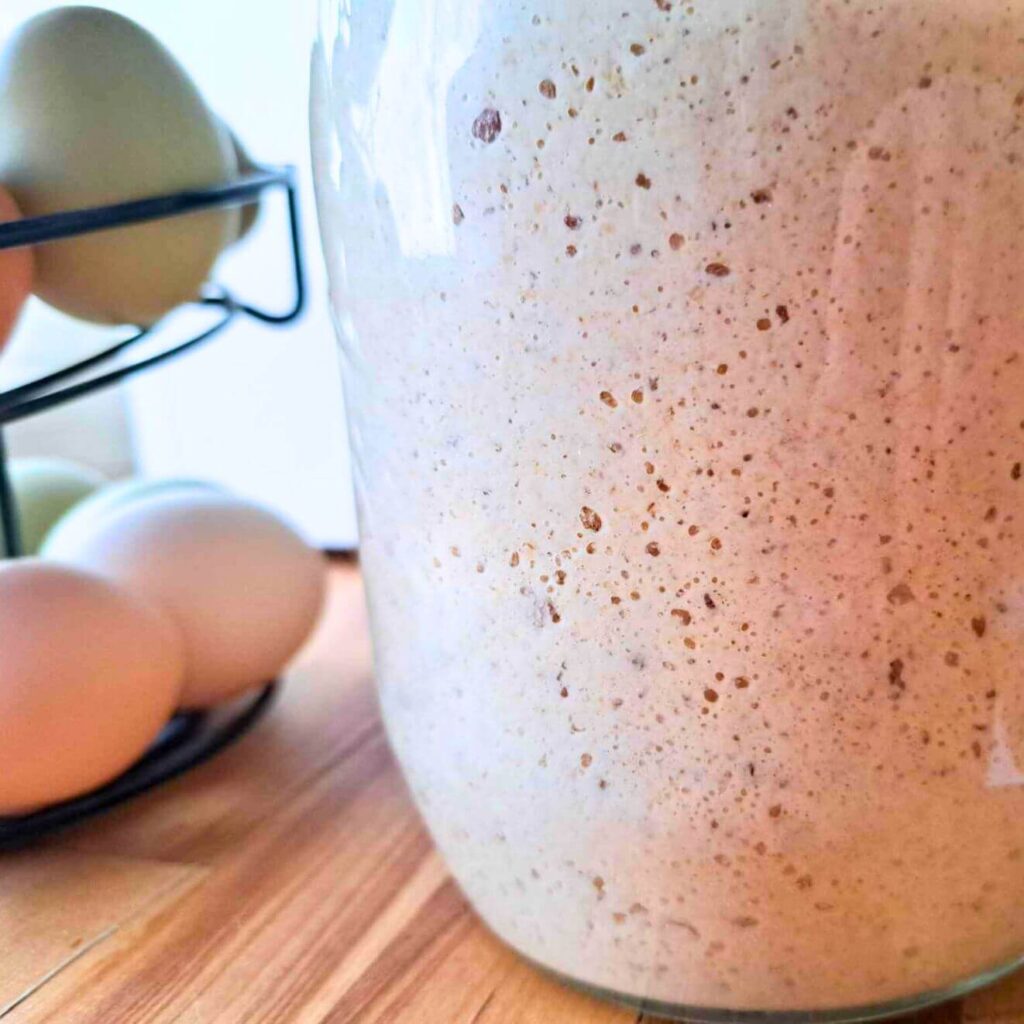
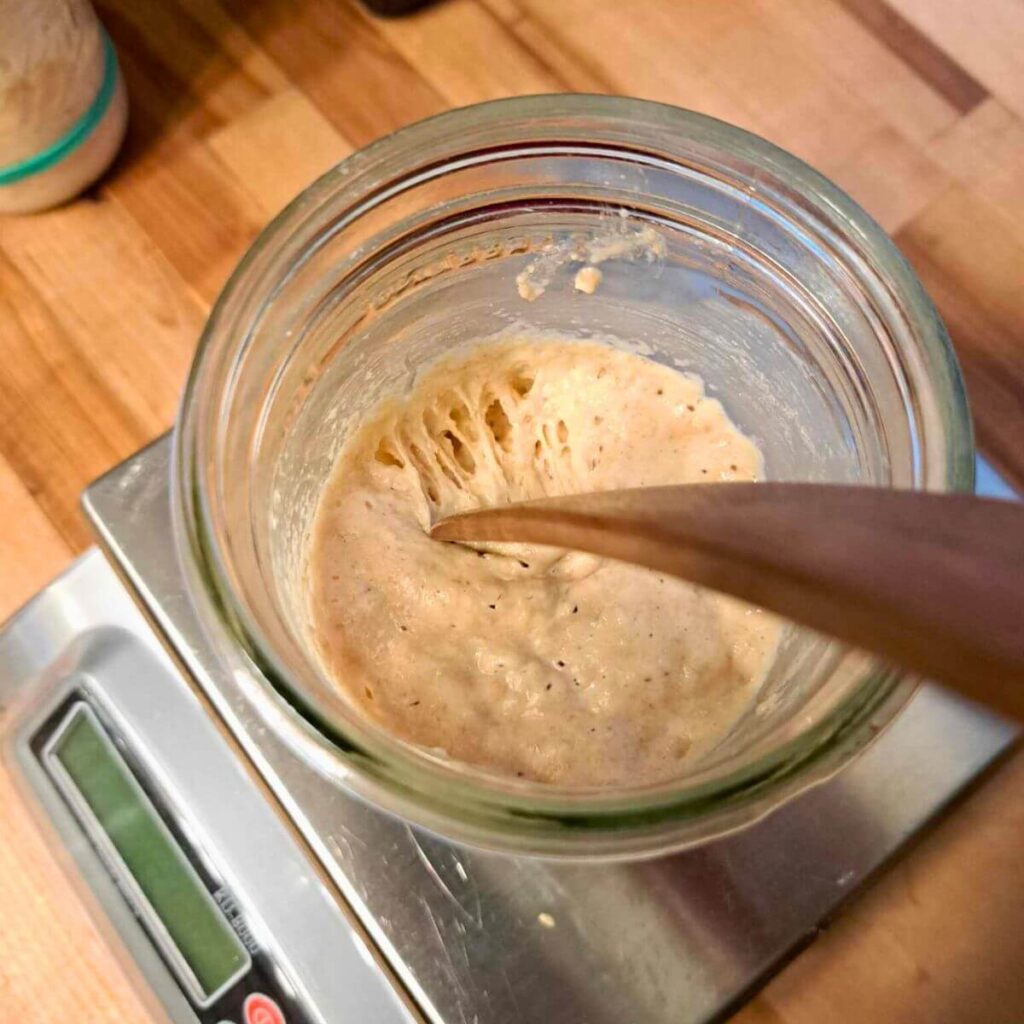
A healthy sourdough starter will appear bubbly and slightly foamy on the surface, with visible bubbles throughout the mixture, indicating active fermentation. When you scoop or stir your starter it will feel airy and it will look “stringy”. These tiny strands are the elastic network of gluten. This is a good sign!
What Should My Sourdough Starter Smell Like?
Your sourdough starter should smell pleasant, with notes of yeast and possibly a slight fruitiness. Depending on the stage of fermentation and the bacteria present, a starter can smell like ripe fruit, beer, yogurt, or even a little like earthy soil. It may even smell slightly acidic from the lactic acid that is present.
If your starter smells very strong like acetone (nail polish remover), paint thinner, or has a very strong, unpleasant odor, it might be unhealthy and need to be discarded or adjusted.
What Is This Gray Layer On My Starter?
This is called “Hooch”. It is completely normal and it just means your sourdough starter is hungry and needs to be fed. Hooch is the by-product or waste of the bacteria and yeast after they’ve digested all the flour in the sourdough starter. You can just stir it in or pour off the hooch and feed your starter and carry on!
What Should I Do If My Starter Has Mold?
If you start to see little fuzzy, colored patches on your starter you probably are seeing mold. Mold can appear in various colors like white, green, blue, or black. It will also have a strong off-putting smell. Unfortunately, you will not be able to salvage your starter and you will need to make a new sourdough starter.
When Can I Start Using Discard In Discard Recipes?
You will want to wait until you are seeing a predictable doubling of your starter to start using the discard in discard recipes. I know it seems wasteful to not use the discard in the beginning of making your own starter. At this point the bacteria and yeast have not yet achieved a symbiotic relationship and might not be good for you to eat. Once your starter is doubling in 4-6 hours and is ready to use you can start to use your discard in any discard recipe your heart desires!
What If My House Is On The Cooler Side?
You will see the most significant activity with your sourdough starter at temperatures between 75°F – 82°F. Below 70°F, fermentation will slow significantly. If you keep your house cooler than 70°F here are some ideas for keeping your starter in a warmer spot in the house:
- On the top of your refrigerator (The area around the fridge tends to be warmer due to rising heat.)
- In a cupboard near the oven
- A spot above a heating vent
- In the microwave or oven with the light on (This option can be more risky. If you do this put a BIG note over your controls so someone doesn’t turn it on while it’s in there.)
- Feed your starter with warm water (below 120F)
- Use a yogurt maker or instant pot with yogurt setting
- Use a seedling mat
- A warm water bath
How Do I Know If My Starter Is Ready To Use?
- It is rising and falling predictably around the same time every day. It should double within 4-6 hours for best results.
- It will look light and airy and full up bubbles all throughout when it reaches it’s “peak”.
Remember that in the beginning days of your starter doubling within 4-6 hours after feeding it is still new and your bakes may vary. It could take up to 1-2 months for your starter to get really good and established. Just be patient and persistent with feedings.


Maintaining Your Fresh Milled Flour Sourdough Starter
If you leave your sourdough starter on the counter it will need to be fed equal parts (1:1:1 ratio) of flour and water every 12-24 hours. If your house is on the warmer side it will need fed every 12 hours and if it’s on the colder side it will need fed every 24 hours.
If you want to go longer between feeds you can feed your sourdough starter with a higher ratio (such as 1:2:2, 1:5:5, etc. and it will result in a slower fermentation and take longer to reach “peak”. Read here for more information about feeding ratios.
You can also store your starter in the refrigerator if you aren’t planning on using it often, you are going on vacation, or you just need a break from feeding it. Make sure to cover your starter in the fridge with an airtight lid. If stored in the fridge it will need to be fed about once a week. If it has been stored in the fridge for a longer period you will need to take it out of the fridge 1-2 days before you plan on baking with it and give it a refresh. I’d recommend feeding it 2-3 times 12 hours apart.
Shop This Post


How To Make Your Own Fresh Milled Flour Sourdough Starter
Ingredients
Equipment
Method
- Set your empty jar on the kitchen scale and tare it so it shows 0 grams. Add 50 grams of fresh milled flour and 50 grams of room temperature water. Stir until thoroughly combined.
- Cover loosely with the jar lid and band, but DO NOT tighten the band. let sit for 24 hours. I personally just use the mason jar lid with the band loosely fastened just enough to not fall off. It will need to "breathe" and let out gasses. You can use a marker or rubber band to mark the top of your starter. This will come in handy as your starter gets active. *Your starter will not show signs of growing or being active days 1-3.
- Tare out a clean pint glass mason jar on your kitchen scale. Add 20 grams of the starter to the jar. Discard the leftover. To the 20 grams add 50 grams of fresh milled hard white flour and 50 grams of room temperature water. Stir until thoroughly combined. Cover loosely with the jar lid and band, but DO NOT tighten the band. Let sit for 24 hours.
- Repeat steps from day 2.This is also a good time to jot down notes as you go. Assess the look and smell of your starter. You may see a little bit of a rise starting on days 3/4.
- You will now feed your starter 2 times a day! You will feed it about 12 hours apart. Tare out a clean pint glass mason jar on your kitchen scale. Add 50 grams of the starter to the jar. Discard the leftover. To the 50 grams of starter add 50 grams of fresh milled hard white flour and 50 grams of room temperature water. (This is a 1:1:1 feeding Ratio)Stir until thoroughly combined. Cover loosely with the jar lid and band, but DO NOT tighten the band. Let sit in a warm spot until your next feeding.
- By now you should start to see some activity such as bubbles and your starter rising and falling. A healthy sourdough starter should double in 4-6 hours. My starter actually doubled on day 6, but this can vary with the temperature in your home. Taking longer if it's cooler or quicker if it's warmer. Be patient if yours isn't at the same pace.
- Once you are getting predictable results a few days in a row with it doubling within 4-6 hours your starter is ready to start baking sourdough bread and other goodies! Your starter is going to keep maturing and getting stronger as time goes.
- *Note that in the beginning days of your starter doubling within 4-6 hours after feeding it is still new and your bakes may vary. It could take up to 1-2 months for your starter to be really good and established. Just be patient and consistent with feedings.
Can you use spent or einkorn for a gluten free option instead and yield the same results?
You should be able to make a starter with those with the same steps! I haven’t made bread with those so I’m not sure how they will come out using my sourdough bread recipe. I’d love to hear your results if you try it!
So for the starter how many jars do I need?
2 to alternate back and forth with.
Can I just feed my current starter that’s been using commercial flour and feed it fresh milled flour?
Yes, some people are able to switch theirs with no issue and some people say it won’t work. Give it a try and if all else fails you can follow these steps.
I’m still a beginner with the FMF and I’m wondering if you grind up fresh wheat with every feeding? I understand that FMF will lose its nutrients if it’s ground up and then left to sit too long. Just curious how you do this! Thanks!
I personally grind a few days worth for sourdough feeds. It just makes it easier for me.
I started my starter with freshly milled flour last night, and this morning I saw there was some liquid on the outer edges and I’m wondering if that’s normal?
Yes, this is normal. You can just stir it in with your next feed.
I’m trying to reconstitute my frozen starter using fresh milled red hard wheat. I first did a 1:2:2 ratio and by morning had hooch and no rise. Did have some surface bubbles and a sweet fragrance. So I took 50 grams of that starter plus 50 grams more of the FMF snd 50 grams water to start over. It’s only been a couple of hours but still see the beginnings of hooch so quickly. Should I go to multiple feedings? Is the red hard wheat too nutrient dense? You have any suggestions for me? Tks much
Maybe try that or a higher feeding ratio.
What should I do if it’s been almost 3 weeks and I can’t get my starter to consistently double? If it does double it takes about 12 hours.
I’m not sure. My newest one took a little longer than the last one I started. Is it in a warm spot? A friend of mine also said adding a little raw honey to theirs gave it a boost.
Thank you for these easy steps! I do have question. Once the starter is “complete”/strong, how do i go about storing it in the fridge and “waking it back up” for use? I’ve heard of people doing this when they don’t make a lot which will work a lot better for me but I don’t know the steps. I also don’t know when my starter will be strong enough for this and it not kill it.
You can keep it in the fridge with a loose fitting lid and feed it once a week. To wake it up, take it out, give it a good feed (warm water helps!), and let it sit in a warm spot (65-70°F), repeating feedings (maybe 1-2 times daily with equal starter, flour, and water) until it’s bubbly, spongy, and doubles in size, which might take a day or two.
I’m excited to try this recipe,
am I correct in understanding that I will always be alternating the mason jars with every feeding as long as I have it?
Once it is established, will I not start adding feed to the same jar
Thank you
Yes or you can write the tare weight on the bottom of the jar and stick with the same jar if that’s easier for you!
Thank you for the simple steps! It took 11 days for mine to finally double in the 4-6 hour window (in case anyone else’s is taking longer than you think). I am using hard red for my starter. It’s looking strong and smells great. I’m about 7 months into FMF and excited to start trying sourdough recipes!
my starter was gifted to me and isn’t super happy and bubbly! how would you suggest that I wake her up fully again?
Just steadily feed it and it should perk back up. You can also use rye flour for a boost!