These whoopie pies made with fresh milled flour are a delicious classic! Two moist chocolate cakes are sandwiched together with a lush, marshmallow buttercream filling creating a divine treat.

What Is A Whoopie Pie?
Whoopie pies are not actually a pie, but more like a mini cake. Traditionally, the cake is chocolate, and the filling is a marshmallow cream or buttercream or both. They are strongly associated with the Amish and Mennonite communities and are believed to have originated in Pennsylvania Dutch Country from leftover cake batter. The name is said to come from the joyful exclamation of “whoopie!” when they were discovered in lunch pails.
What You’ll Need To Make Whoopie Pies Made With Fresh Milled Flour
Fresh Milled Soft White Wheat Flour
Cocoa Powder (I use Hershey’s)
Baking Powder
Baking Soda
Salt
Butter
Brown Sugar
Milk
Eggs
Vinegar
Vanilla Extract
Powdered Sugar
Marshmallow Cream
How To Store Leftover Whoopie Pies
You can wrap them individually in plastic wrap or store in an airtight container for 2-3 days at room temperature. You can also freeze wrapped whoopie pies for up to 3 months. When ready to eat them, thaw in the fridge overnight or at room temperature for 1-2 hours. They are best enjoyed at room temperature.
Shop This Post


Where To Buy Grains Online


This post contains affiliate links, which means I make a small commission at no extra cost to you.
IF YOU TRY THIS RECIPE AND LOVE IT, I WOULD LOVE IF YOU GAVE IT 5 STARS AND LEAVE A REVIEW BELOW!
YOU CAN ALSO TAG ME ON INSTAGRAM OR FACEBOOK @FRESHMILLEDMAMA AND SHARE A PHOTO IN MY FACEBOOK GROUP.

Whoopie Pies Made With Fresh Milled Flour
Ingredients
Method
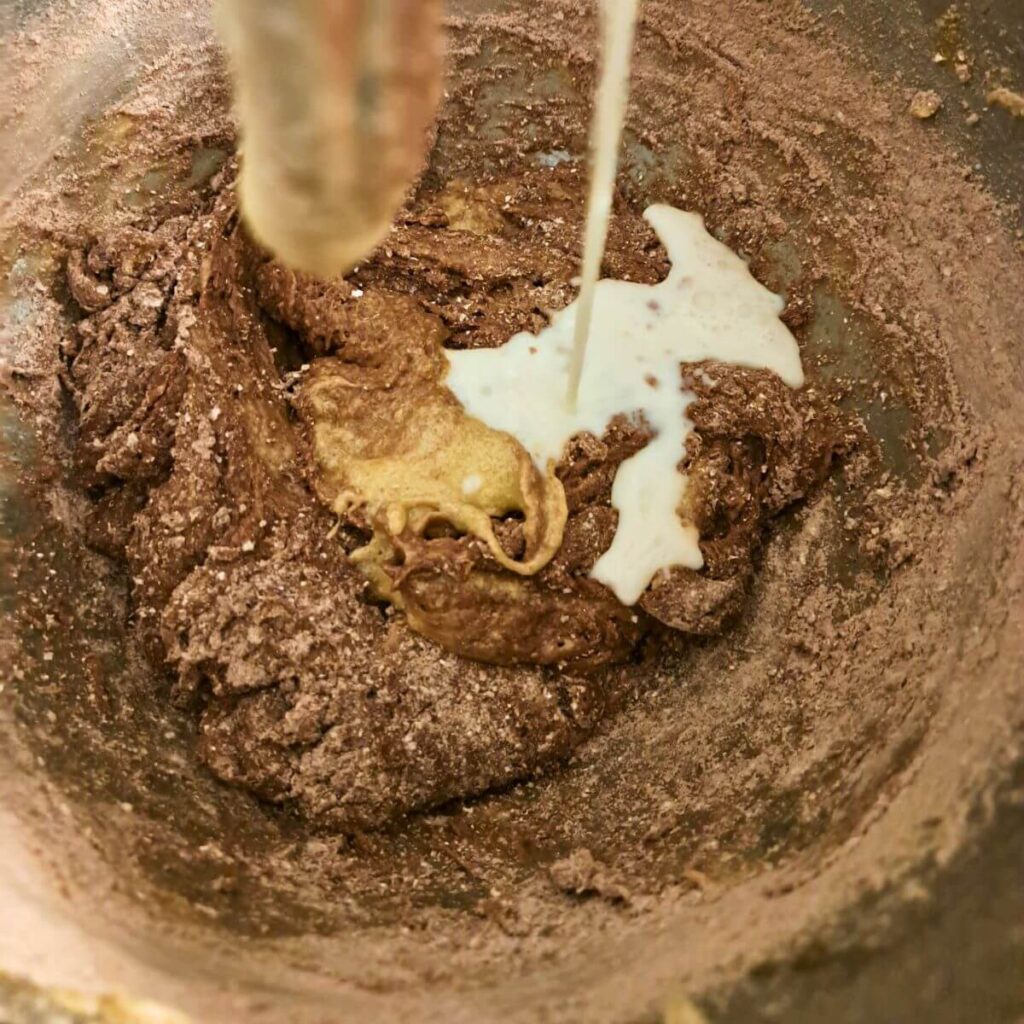
- In a small bowl mix milk and vinegar to create "buttermilk". Set aside.
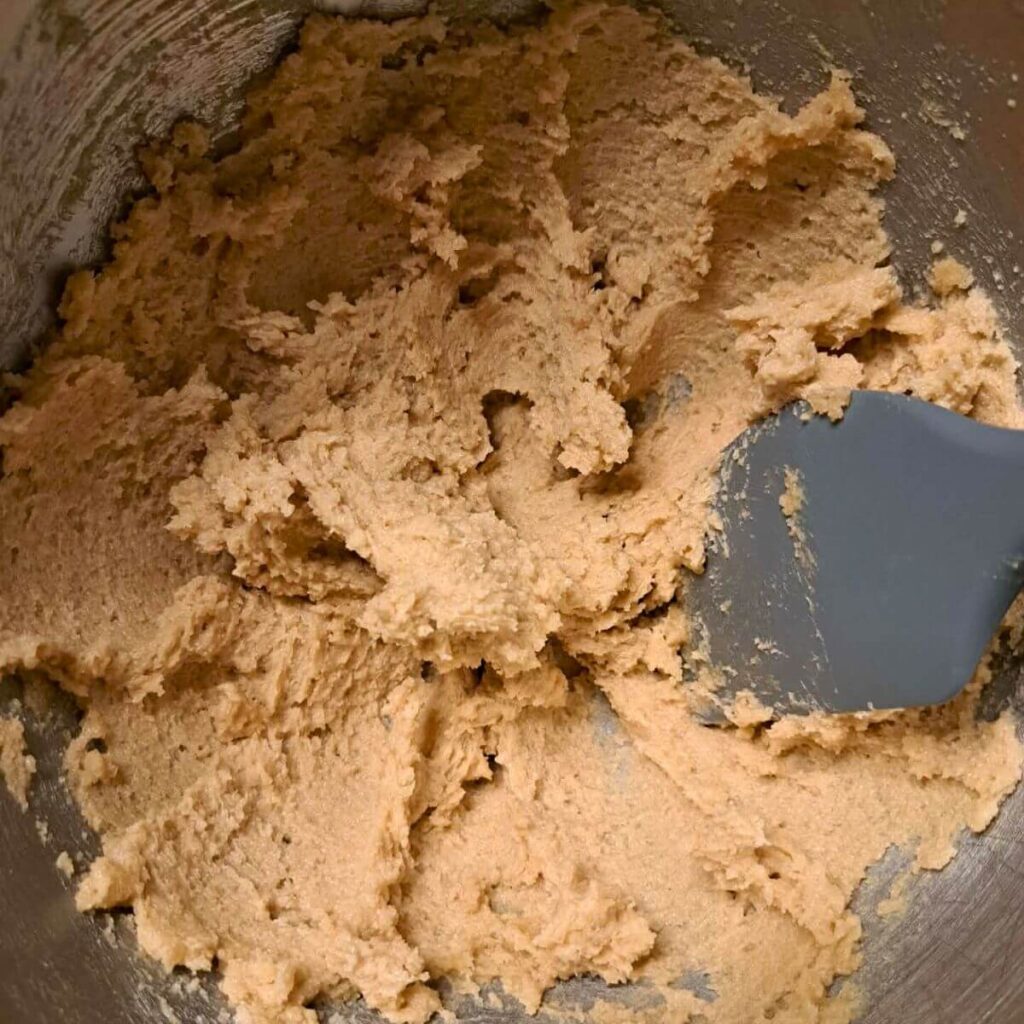
- In a stand mixer beat softened butter and brown sugar together on medium speed until fluffy. About 4 minutes.
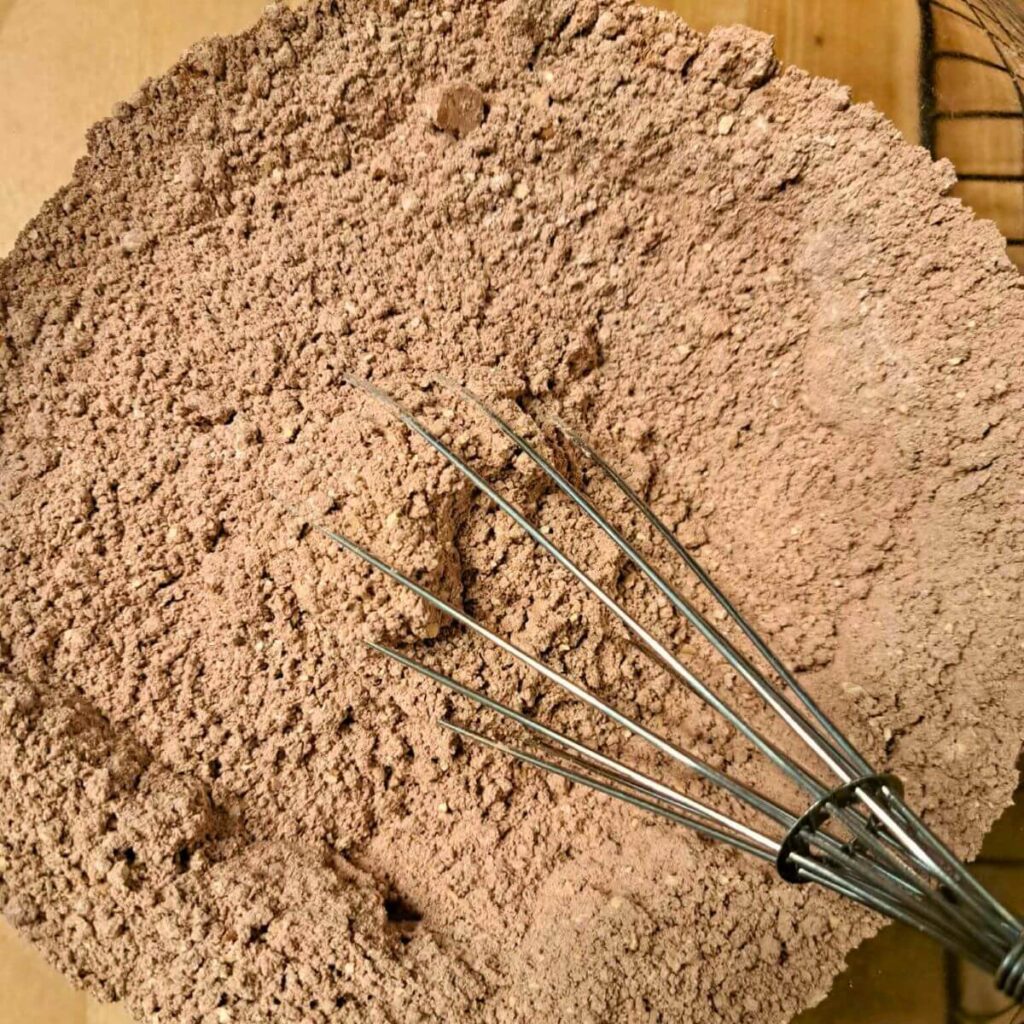
- In a separate bowl, whisk together flour, cocoa, baking soda, baking powder, and salt. Set aside.
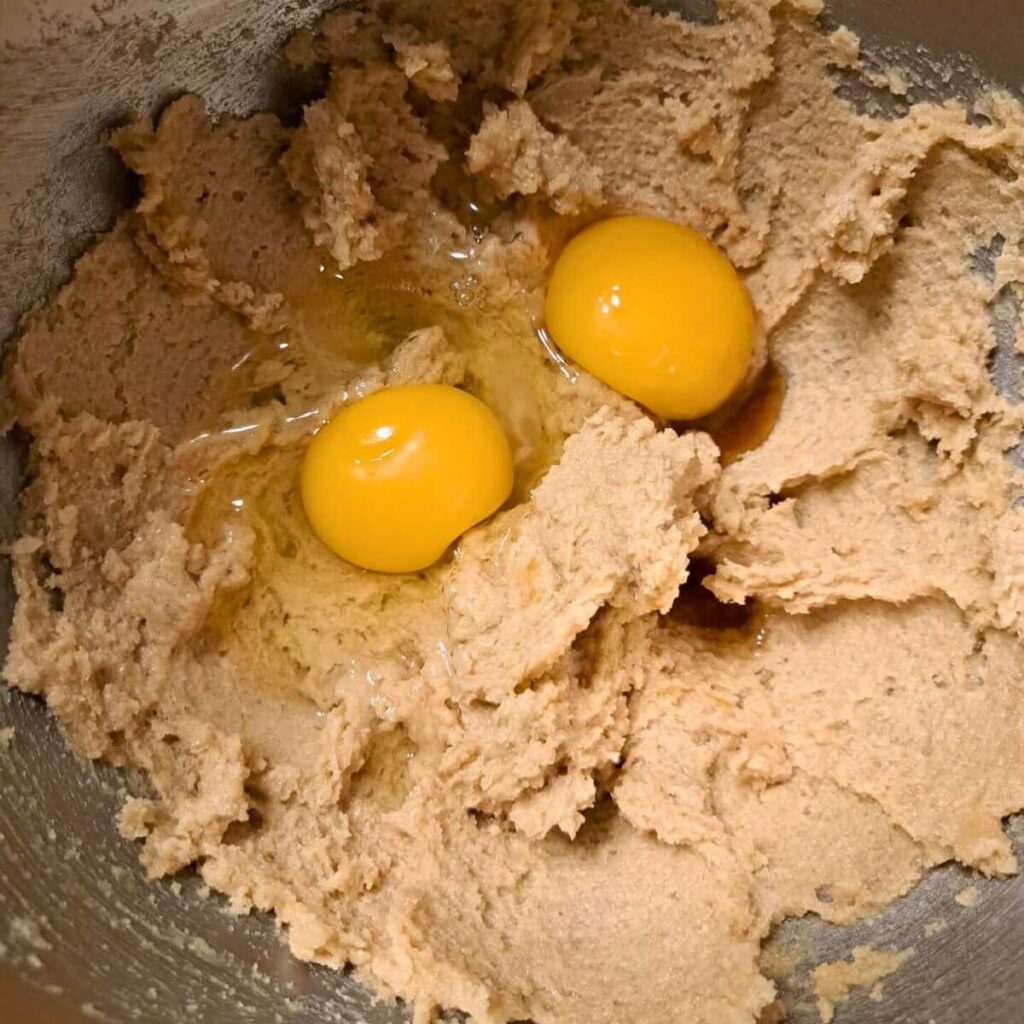
- In the mixer, beat in eggs and vanilla extract until incorporated, scraping down the bowl as needed.
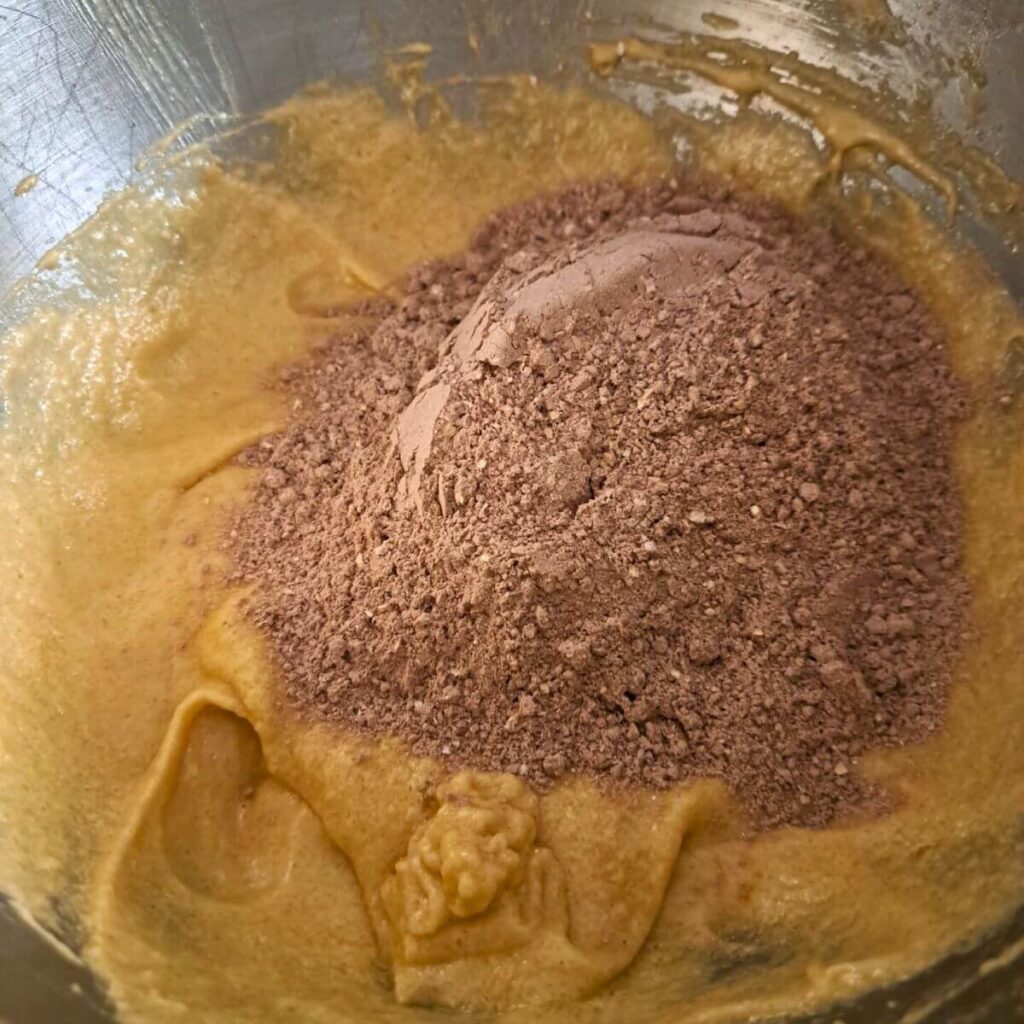
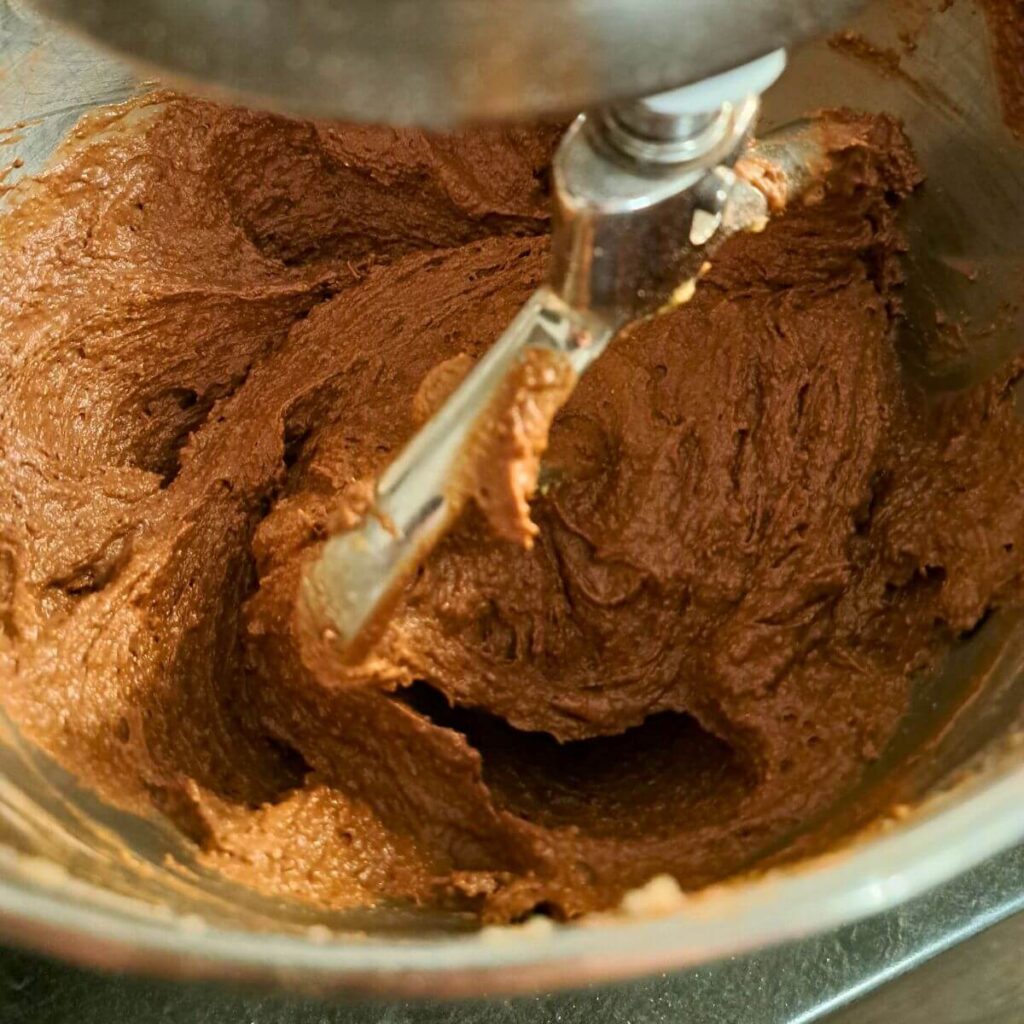
- Reduce mixer to low and beat in half of the flour mixture, then half of the buttermilk. Repeat with the remaining flour and buttermilk mixture. Scrape the sides as needed. Don't overmix.
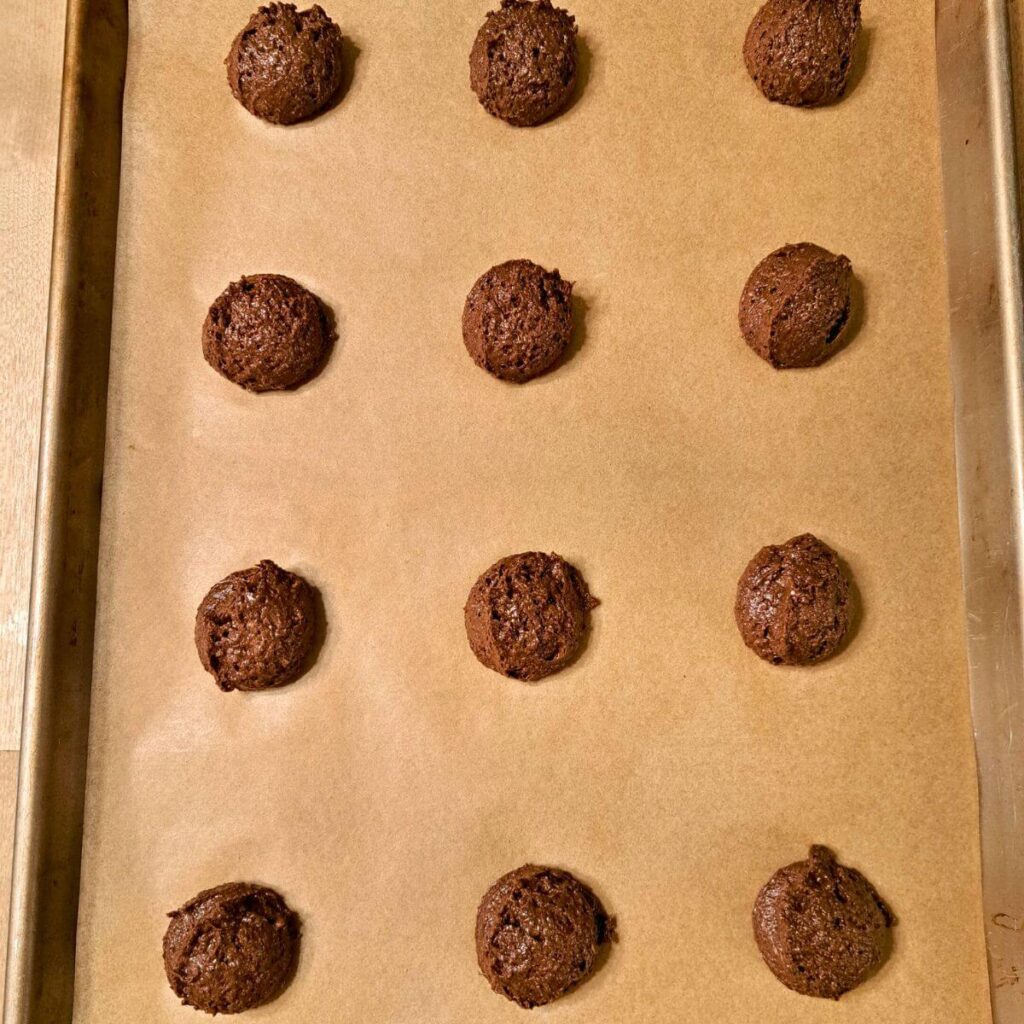
- Preheat oven to 375F and line baking sheets with parchment paper.
- Let the batter rest for 5-10 minutes while the oven preheats.
- Give it a gentle stir after the rest so there aren't big air pockets. Using a small scoop, drop batter onto prepared baking sheets. (I use a #40 scoop which is approximately 2 tablespoons of batter.)Leave 2 inches between each mound of batter so they don't spread into each other.
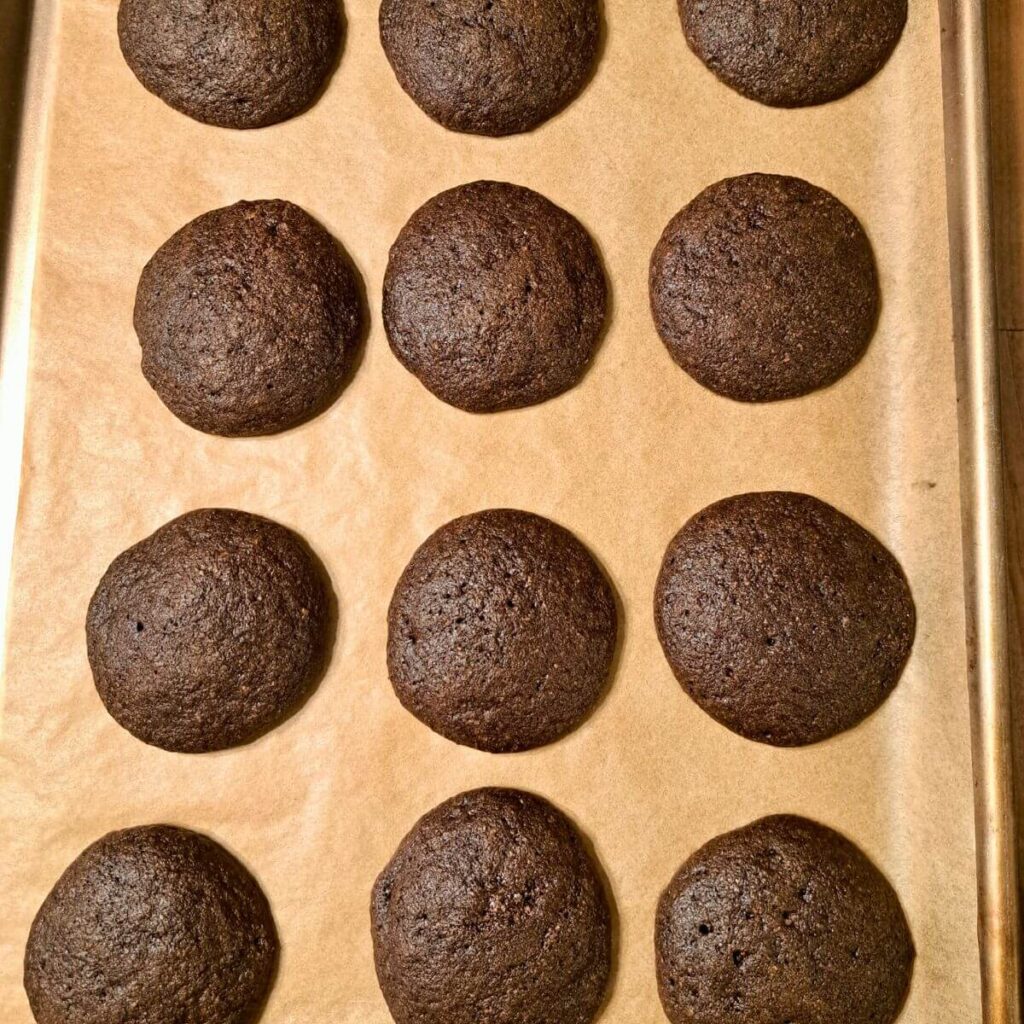
- Bake for 8-10 minutes, or until tops begin to firm up. Cool on the baking sheet for 1 minute and then transfer to cooling rack to cool completely. (In my oven they are done in 8 minutes, but I know this can vary with ovens so just watch yours to get a feel for timing. You don't want to under bake them because then they aren't sturdy and you don't want to over bake them and dry them out.)
- While the cakes are cooling make your filling. In a stand mixer using the whisk attachment, beat the softened butter, powdered sugar, and vanilla together until fluffy. About 2 minutes. Scrape down the sides as needed. Then add in marshmallow fluff and mix until incorporated.
- Using a piping bag or spoon spread or pipe about 2 tablespoons of filling onto one cake layer and then gently press the other cake layer to make a sandwich.
I am looking forward to trying this recipe. My recipe is so old that Crisco is used for the filling! 🤭
I hope you enjoy them! The buttercream filling is definitely an upgrade!
These were amazing! Followed the recipe exactly except used small scoop. Thank you!!
These look amazing! Question…do they need to be refrigerated or if the filling shelf-stable?
Generally buttercream doesn’t “need” to be refrigerated due to the sugar content. If you do I would wrap them well so they don’t dry out.
I made these today and they are amazing. I subbed kefir for the milk and vinegar and used homemade marshmallow fluff.
Hi Kristen! I made homemade marshmallow fluff. Did you use the same amount? I feel like my fluff may be heavier than what you get in the store – it’s more like a cream/melted marshmallow. I used Bigger Bolder Baking’s recipe (and made her corn syrup substitute). Curious which one you used.